Vinyl records hold a special place in the hearts of audiophiles and music enthusiasts, often celebrated for their warm sound and tangible connection to music history.
However, with the rise of digital technology, it’s become increasingly important to bridge the gap between analog nostalgia and digital convenience.
Converting your vinyl records to digital format allows you to preserve your music collection and listen to your favorite tracks on modern devices, anywhere and at any time.
In Summary
Use a USB Turntable: A USB turntable can directly connect to your computer, allowing you to record the audio from your vinyl records into digital format.
Recording Software: Utilize audio recording software like Audacity or similar programs, which can capture the audio from your turntable and save it as digital files.
Adjust Recording Settings: Set the correct recording levels and format (such as WAV or MP3) in your software to ensure high-quality digital conversion.
Clean and Pre-Check Records: Before converting, clean your vinyl records to remove dust and check for scratches to ensure the best possible audio quality in the digital format.
The process of digitizing your vinyl collection is straightforward but requires careful handling and the right equipment.
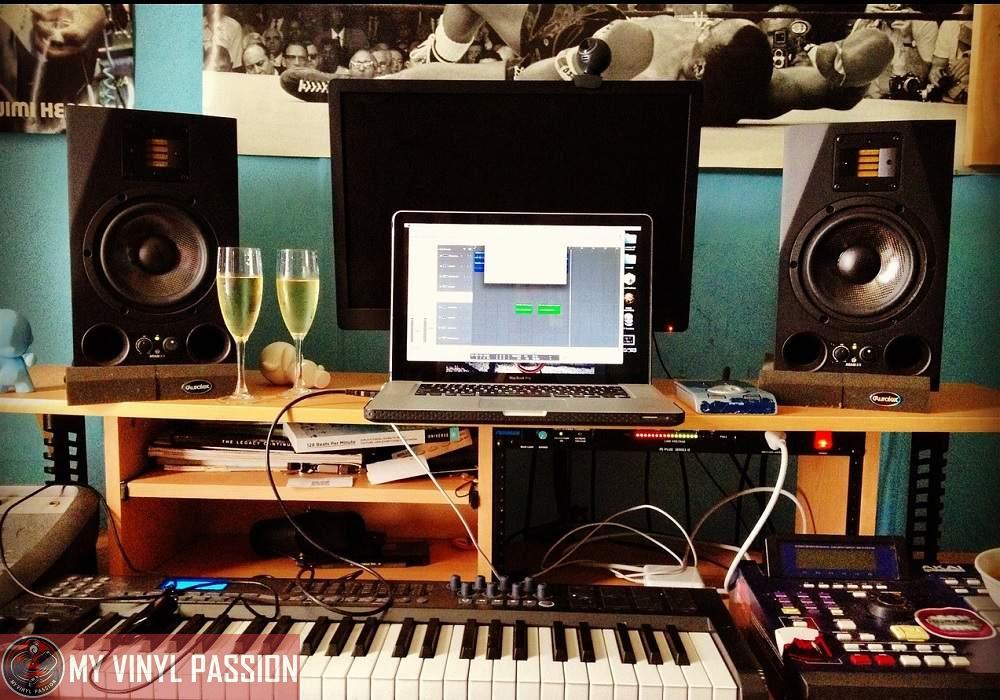
Essentially, you must capture the audio from your record player as a digital file on your computer. This involves using a turntable that can connect to your computer, either via a built-in USB port or through an audio interface, and recording software to capture and edit the audio.
Proper techniques and equipment ensure high-quality recordings that are faithful to the original sound of your vinyl records.
Maintaining the integrity of the original audio is key during conversion.
By recording at the proper sample rate and bit depth, you can achieve a digital file that retains the nuances of the vinyl format.
Once converted, these files offer the flexibility of digital music while keeping the soul of analog records intact, allowing you to build and maintain a meaningful music collection in the digital era.
Understanding Vinyl to Digital Conversion
To convert vinyl records to digital format, you’ll need to understand the basic principles and equipment involved. Vinyl records contain analog audio signals, which you will be transforming into digital files for modern playback devices.
Equipment Required:
- Turntable or Record Player: A device that spins the vinyl records.
- Analog to Digital Converter (ADC): Converts the analog signals to digital format.
- USB Turntable: Combines both turntable and ADC, and it can directly connect to your computer.
Steps for Conversion:
- Connect: Hook up your turntable to an ADC or use a USB turntable to connect to your PC.
- Software: Install audio recording software that will recognize your ADC or USB connection.
- Record: Play the vinyl record and use the software to record the audio in real-time.
- Edit: Trim the recording to remove any silence and adjust the audio levels.
- Export: Save the recording in your desired digital format such as MP3, FLAC, or WAV.
Remember, the quality of the digital file will be influenced by the condition of your vinyl record, the quality of your equipment, and the settings you choose during the conversion process. Clean your records thoroughly and adjust the recording settings to ensure the best possible sound reproduction.
For comprehensive guidance, exploring books like “Understanding Records: A Field Guide to Recording Practice” can offer deeper insights into the nuances of recording from analog formats like vinyl to digital.
Setting Up Your Conversion Hardware
Before digitizing your vinyl records, setting up your hardware correctly is crucial. This will ensure the highest quality transfer from analog to digital format.
Choosing the Right Equipment
Your first step is to select a turntable with a USB output, which is designed for easy connection to a computer.
If your turntable lacks a USB output, you will need a phono preamp to boost the signal and a modern turntable with an appropriate phono cartridge.
Once you have your turntable, the next essential component is an analog-to-digital converter (ADC), which will convert the analog signals from your records into digital files.
The quality of the ADC greatly influences the fidelity of your digitized music. Some turntables come with a built-in ADC, but if yours does not, standalone versions are available that connect between your stereo system and computer.
Connecting Your Turntable to Your Computer
To connect a turntable with a USB output, simply use the supplied USB cable to plug the turntable directly into your computer’s USB port.
If your turntable only has traditional RCA outputs, connect it to a phono preamp, then connect the preamp to your computer’s USB port using an RCA to USB cable.
If the preamp has only RCA output, you will need an additional RCA to USB adapter or a dedicated audio interface that accepts RCA input and provides a USB connection.
- Position your turntable close to your computer to minimize the length of the cables and avoid potential signal degradation.
By carefully selecting and connecting your conversion hardware, you position yourself for a satisfying audio transfer experience, faithfully preserving the nuances and warmth of your vinyl records in digital form.
Cleaning Your Records
Before converting your vinyl records to a digital format, it’s crucial that you thoroughly clean them to ensure the best possible sound quality. Dust, dirt, and oils from your fingers can negatively affect playback and, by extension, the quality of your digital copy.
Gather Your Tools:
- Microfiber cloth
- Record brush
- A cleaning solution designed for vinyl records
Steps to Clean Your Vinyl:
- Remove Dust: Gently use a record brush over the surface of the vinyl record to remove any loose dust. Always brush in a circular motion following the grooves and avoid touching the surface with your fingers.
- Apply Cleaning Solution: If there are fingerprints or smudges, dampen your microfiber cloth with the cleaning solution. Wipe the vinyl in circular strokes, again in the direction of the grooves, not across them.
- Dry the Record: After cleaning, use a clean, dry microfiber cloth to dry the record with the same circular motion. Ensure the record is completely dry before attempting to play or convert it to digital.
Remember to always handle your records by the edges or the labeled surface to minimize the risk of adding new oils or dirt.
Maintaining the cleanliness of your records not only preserves their quality but also extends their lifespan—vital for avid collectors and music enthusiasts alike.
Recording and Capturing the Audio
Before you begin the process of converting your vinyl records to a digital format, understand that the recording phase is crucial. You need the right software to capture the audio accurately and to ensure the highest possible fidelity.
Software Selection
Selecting appropriate recording software is the first step in the process. Audacity is a popular choice because it’s free and supports multiple file formats such as WAV and MP3.
Other software options include Vinyl Studio and Pure Vinyl, both of which are designed specifically for digitizing records. If you’re a Mac user, you might consider GarageBand, which also provides the necessary tools for capturing audio from vinyl.
Adjusting Recording Levels
Once you’ve chosen your software, set the volume levels carefully to prevent clipping, which can distort the sound.
Start recording and play a loud part of your vinyl. Watch the waveform; you want to avoid the peaks reaching the maximum amplitude of the display. Sampling rate is another critical factor to consider for maintaining audio fidelity.
A standard CD-quality sampling rate of 44.1 kHz is usually sufficient, but some prefer higher rates for archival purposes. Ensure that the recording levels are high enough to capture the nuances of the audio without exceeding 0 dB, which is the threshold for clipping.
Post-Processing and Enhancing Sound Quality
After you’ve converted your vinyl records to digital files, post-processing is crucial for improving sound quality and preparing your music for modern listening devices.
This stage involves removing unwanted noise, adjusting sound levels, and inputting information for easy file organization.
Removing Noise and Distortions
First, use software capable of noise reduction to eliminate hiss and crackles inherent in vinyl sound. Quality software options include Audacity or Adobe Audition, both of which offer tools to attenuate unwanted noise without affecting the integrity of the original recording.
Here’s how:
- Import your digitized audio file (preferably in lossless formats like FLAC or AIFF for better fidelity than MP3).
- Highlight a section of the recording that contains just the noise.
- Use the Noise Reduction tool to sample this noise.
- Apply the effect to the entire track to reduce the noise, taking care not to overdo it and lose the vinyl character.
Using the Equalization tool can also help in reducing frequency-specific noises and distortion. Fine-tuning these settings ensures that the output from your speakers or other playback devices retains the warmth of vinyl sound without the interference of audio anomalies.
Adding Metadata and Organizing Files
After cleaning the audio, adding metadata is necessary for organizing your digital music library.
Metadata includes information like the track name, artist, album, and year. It serves as a digital fingerprint, making it easy to sort and locate files. Here’s a straightforward way to manage this:
- Digital Audio Workstations (DAWs) or media players with editing capabilities allow you to input metadata manually.
- For batch editing, you might consider software like Mp3tag or MusicBrainz Picard.
- Ensure metadata is meticulously applied, particularly when converting to CD format, as it allows CD players to display track info correctly.
By exporting your cleaned files with well-assigned metadata, you’re better equipped to enjoy and manage your newly digitized music collection.
Through this process, you transform your cherished vinyl records into pristine digital files that maintain the essence of the original recording with the convenience of modern formats.
Storing and Sharing Digital Music Files
Once you’ve converted your vinyl records to a digital audio format, understanding how to effectively store and share your music is crucial.
Store your files on your computer, whether it be a Mac, PC, or Linux system. You should choose a storage space that adequately holds your files without compromising on fidelity. High-resolution files tend to be large, so ensure ample storage space is available.
For everyday listening, MP3 files may be your go-to due to their smaller size and widespread compatibility with devices like smartphones.
But, if you’re a music producer focusing on quality, you might prefer lossless formats like FLAC or ALAC, especially if your work involves critical listening sessions.
Here’s a quick guide to file formats:
- MP3: Compatible with virtually all devices, but compressed with some loss of quality.
- FLAC: Better quality with no loss of fidelity, but takes up more space.
- ALAC: Similar to FLAC but optimized for Apple devices.
Transferring these files to portable devices is usually straightforward.
Most smartphones, media players, and even modern CDs can play digital files. It’s worth noting that digitizing an entire vinyl collection can be time-consuming, but once done, the convenience of having your music in a digital format is undeniable.
Sharing your digital music can be as simple as using a cloud storage service, which allows access to your files from any device with internet connectivity. Be aware of the legal implications of sharing copyrighted music, and always respect the rights of creators. Here’s how to handle your music files:
- Back up your collection to prevent data loss.
- Keep your software updated for seamless file management.
- Use dedicated music library software for efficient organization.
- Remember the balance between fidelity and storage space when choosing file formats.
FAQs
What equipment do I need to convert vinyl records to digital format?
You’ll need a USB turntable to connect to your computer, or a standard turntable connected to a computer via a phono preamp. Additionally, you’ll require audio recording software like Audacity.
Can I use any software for recording vinyl records?
Yes, any audio recording software that can record from an input source, like Audacity (which is free), can be used. Ensure the software supports recording in your desired file format (e.g., MP3, WAV).
How do I ensure the best sound quality when converting vinyl to digital?
Clean your records thoroughly before recording, adjust the recording levels to avoid distortion, and choose a lossless format like WAV for the highest quality. Also, ensure your turntable’s needle is in good condition.
Is it legal to convert vinyl records to digital format?
Converting vinyl records to digital format for personal use is generally legal. However, distributing the digital files or using them for commercial purposes without permission may infringe on copyright laws.
What should I do if there’s background noise or pops in the digital recording?
Most recording software has tools to reduce or remove background noise and pops. You can manually edit these out or use filters provided by the software, but be careful not to diminish the overall sound quality.
